
There are two simple ways to swap faces in real time: use the browser for the quickest live preview, or use LiveFaceSwap Desktop when OBS, Zoom, or another app needs the processed video. The main AI inference runs in the cloud in both cases, so your computer does not need a dedicated GPU just to run the face-swap model. The key difference is whether the result stays in the browser or continues into another app as a camera feed.
Choose where you want to use the result
| Your goal | Use | What you get |
|---|---|---|
| Test your camera, reference, and live result without installing an app | Browser | An interactive live preview on the LiveFaceSwap AI page |
| Use the Windows 11 desktop app | LiveFaceSwap Desktop | Camera input and live AI output inside the installed app |
| Send the processed video to OBS, Zoom, or another app that accepts camera input | LiveFaceSwap Desktop | A virtual camera named LiveFaceSwap Camera |
The browser is the quickest way to test the effect, but it currently does not record, download, export, or save the transformed stream. If your end goal is recording, streaming, or a video call, start with Desktop and let the receiving app use LiveFaceSwap Camera.
Whichever option you choose, prepare a working camera, a stable network connection, and a clear reference portrait. A near-front-facing image usually gives you a cleaner starting point than a very small face, heavy blur, strong shadows, or a portrait with major parts of the face covered.
Method 1: Swap faces in real time in your browser
Use the browser when you mainly want to see whether your camera, reference portrait, lighting, and movement produce the result you want.
- Open the LiveFaceSwap AI workspace.
- Select Open camera, allow camera access, and confirm that the input panel shows the correct live feed.
- Keep Face Swap selected, choose a reference portrait and an available model, then review the credit rate shown in the interface.
- Select Start Face Swap. If you are signed out, complete sign-in and select the button again.
- Wait for Live AI output to appear, then make a small head turn, blink, or change expression to confirm that the processed video continues to follow the camera input.
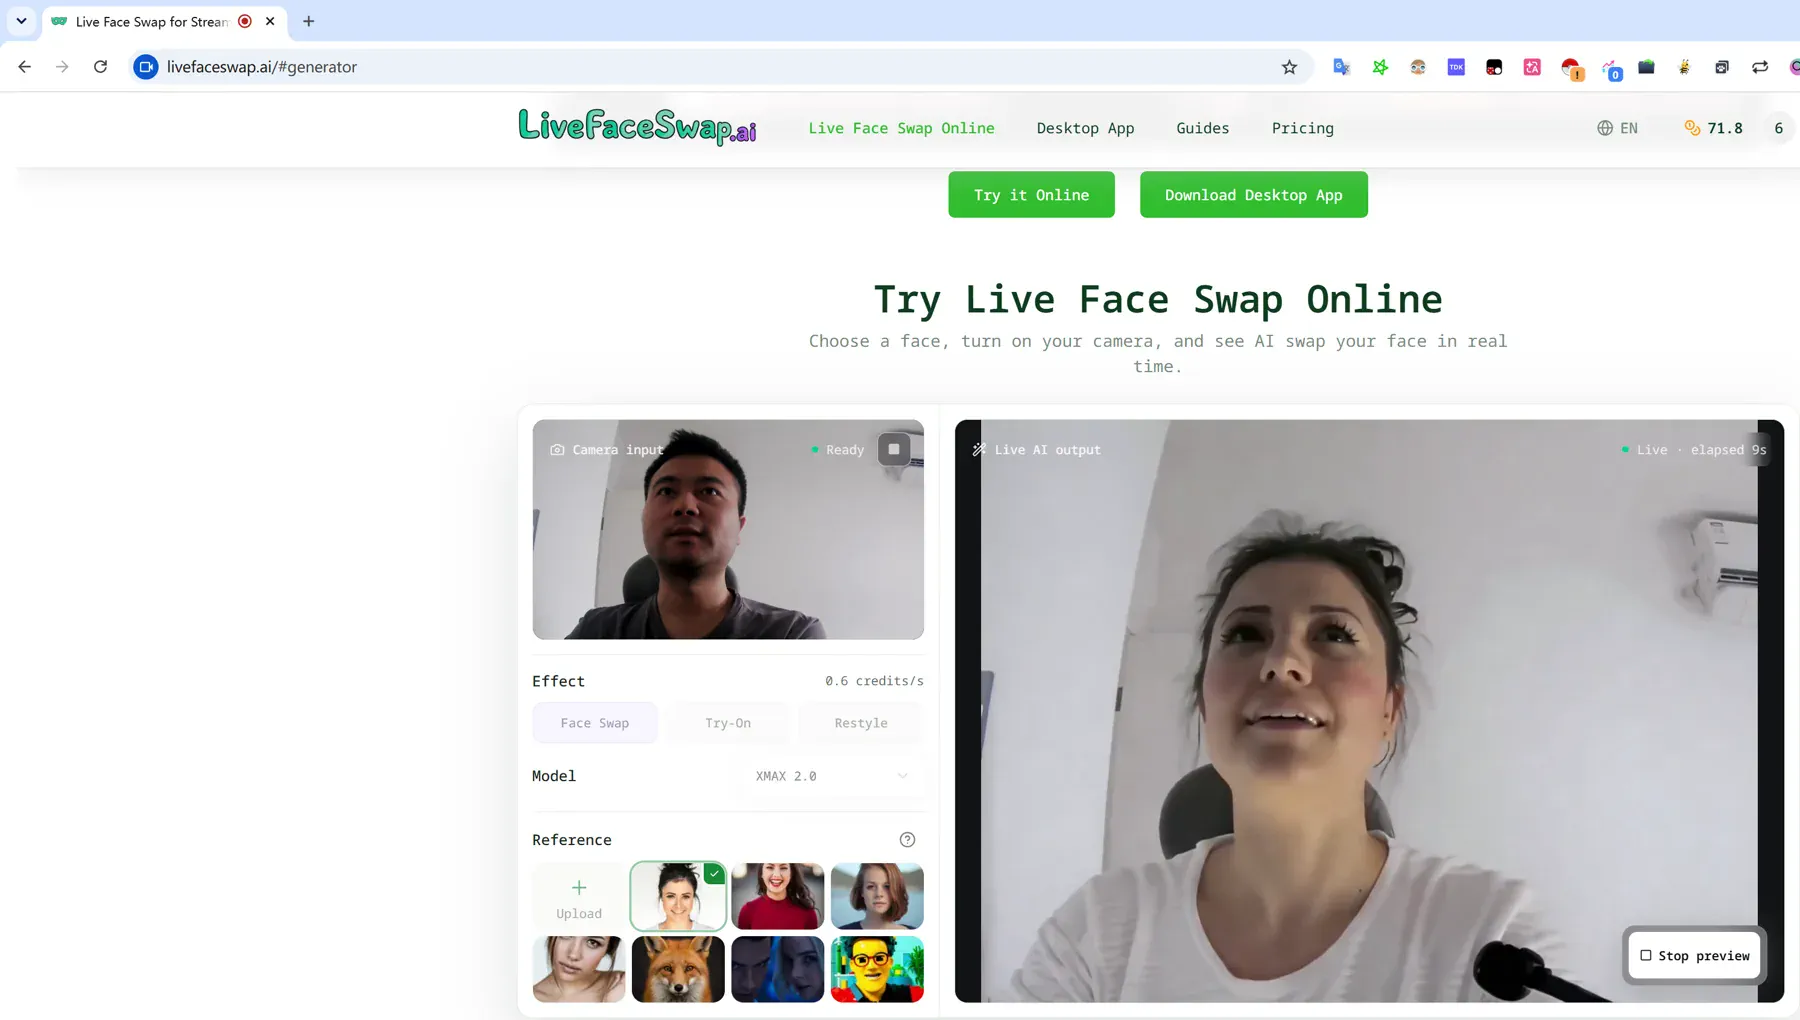
Opening the camera alone does not start the AI session. Billing begins after the first confirmed AI output frame, so check the selected model and displayed rate before you start; different models can use credits at different rates.
When the test is finished, select Stop preview and let the live session end before changing the reference, model, or effect. For camera-permission screenshots and step-by-step instructions, continue with the online real-time face swap guide.
Method 2: Use LiveFaceSwap Desktop
Use Desktop when you want the Windows app itself, or when the next step is to send the processed video to OBS, Zoom, or another compatible application. You do not need to test in the browser first.
- Download and install LiveFaceSwap Desktop from the Desktop page. The current Desktop version targets Windows 11.
- Open LiveFaceSwap and select the physical camera you actually want to use under Input camera.
- Sign in with your LiveFaceSwap AI account.
- Under Effect, select Face Swap, choose a model, and review the displayed credit rate.
- Add your reference portrait under Reference.
- Select Start Face Swap and wait until AI output shows continuously updating processed video.
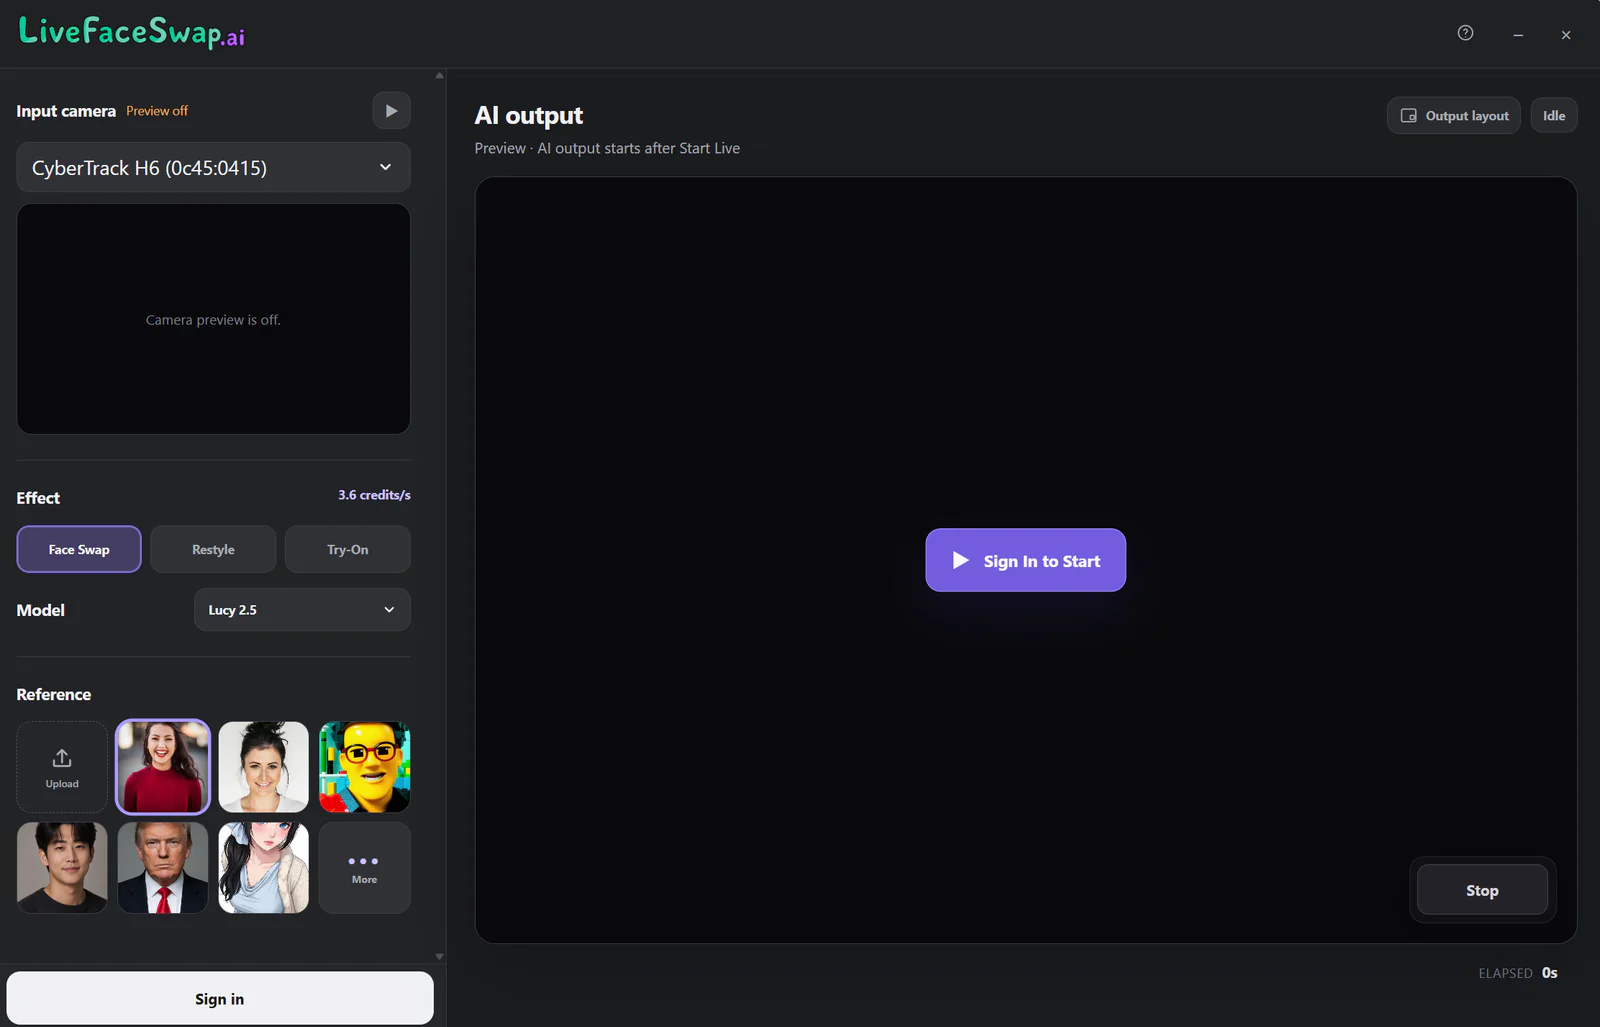
If you only need the in-app preview, you are done at this point. When finished, select Stop and wait for the session to end.
For installation, sign-in, camera selection, and first-output details, see the LiveFaceSwap Desktop setup guide.
How do you send the result to OBS or Zoom?
Desktop installs a virtual camera named LiveFaceSwap Camera. It is not a second application that you open; it makes the processed Desktop video available as a camera source to software that accepts selectable camera input.
The video flow is:
Physical camera → LiveFaceSwap Desktop → LiveFaceSwap Camera → OBS / Zoom / another compatible app
First confirm that AI output works in Desktop, then select LiveFaceSwap Camera in the receiving app. For OBS, follow the LiveFaceSwap OBS guide. For Zoom, use the Zoom live face swap setup guide to select the camera and microphone correctly.
What should you change first if the result looks weak?
Change one input at a time so you can tell what actually improves the result:
- Camera framing: keep the full face inside the frame instead of placing it against an edge.
- Reference portrait: start with a clear, unobstructed, near-front-facing face.
- Lighting: test even front lighting before strong side light or a dark room.
- Movement: begin with normal expressions and small head turns before fast motion or extreme angles.
- Network: if startup or motion tracking becomes inconsistent, check the connection before changing several model or visual settings at once.
Results can still vary with the selected model, reference portrait, camera quality, lighting, movement, framing, and network conditions. A stronger local graphics card does not by itself determine LiveFaceSwap AI inference speed because the main AI processing runs in the cloud. See Does Real-Time Face Swap Need a GPU? for the hardware and deployment distinction.
What should you check when live AI output does not appear?
Identify which stage has failed before changing settings:
- No camera input: review browser or Windows camera permission, select the correct physical camera, and close another app that may be using it.
- Camera input works, but AI output does not start: stop the current session, then check sign-in, credits, the selected reference and model, and the network connection before retrying.
- Desktop AI output works, but OBS or Zoom is blank: the receiving app should use LiveFaceSwap Camera, not the physical webcam.
Check the camera, AI output, and virtual camera separately so you can find the problem faster.